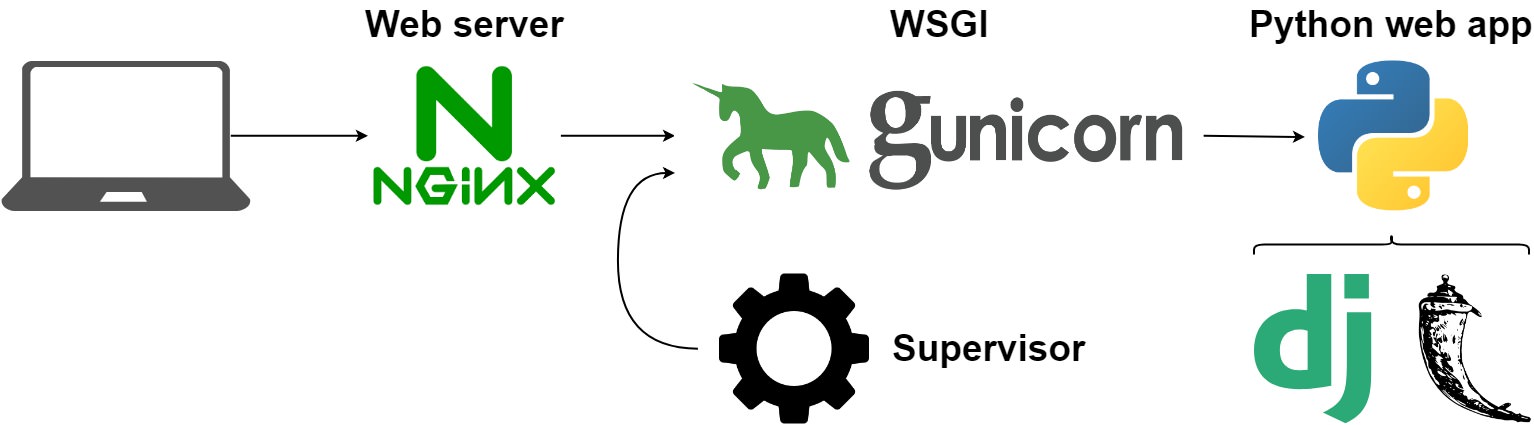
In order to serve a python web app hosted on a server there are some tools that you need to install and set up.
First of all you will need a Linux machine. I'd suggest you use an AWS EC2 instance. You can see here how to create one.
There are three main components needed for serving a python app:
This component will handle the requests and among other things it will deal with static files (images, css, js...). In this post we are going to use Nginx since it is more commonly used for python. Another popular option is apache.
Web servers cannot communicate directly with python apps so you need a Web Server Gateway Interface (WSGI). In this case we will use Gunicorn because it is a simple solution. Another common choice would be uwsgi.
The idea of this post is to set up nginx and gunicorn. To test them you can create a very simple app using flask. You can do the same with django or dash apps.
Supervisor is a system that allows users to monitor and control processes. This will make sure to restart the gunicorn process if it anything goes wrong. Without it you should do it yourself.
You can read more about why a web server and wsgi here.
First you should create the flask app and test it. After you will install and configure both wsgi and supervisor in order to have a service to serve the app. Finally you will configure nginx to serve the content to the web.
First let's create the index.py with the app:
# Create html folder if neeeded
mkdir /var/www/html
cd /var/www/html

# Install requirements
pip3 install flask

# Create index.py with the app
nano /var/www/html/index.py
And paste the following code:
from flask import Flask

app = Flask(__name__)

@app.route('/')
def index():
    return "Hello World"

if __name__ == '__main__':
    app.run(debug=True)
You can try it by running:
python3 index.py
You can now view it by going at XX.XXX.XXX.XXX:PORT (Use your EC2 IP and the port).
Default flask port is 5000. To try it you need to open the port.
If you are using and AWS EC2 it is possible that you don't have the port 80 opened. You can do it with:
NETWORK & SECURITY/Security Groups.Custom TCP Rule with port 5000 (or the one you used).Install gunicorn with:
pip3 install gunicorn
sudo apt install supervisor -y
You will create an config file for your project, for example /etc/supervisor/conf.d/flask_test.conf:
sudo nano /etc/supervisor/conf.d/flask_test.conf
And write the following configuration:
[program:flask_test]
command = gunicorn index:app -b localhost:8000
directory = /var/www/html/
autostart = true
autorestart = true
indexrefers to the python file.appis the name of the flask app that is inside this file.
Then start supervisor:
sudo supervisorctl reread
sudo service supervisor restart

# Check the result
sudo supervisorctl status
To install nginx run:
sudo apt-get update
sudo apt install nginx -y
You can now view if nginx is serving content by going at XX.XXX.XXX.XXX (Use your EC2 IP). You will see the nginx default landing page:
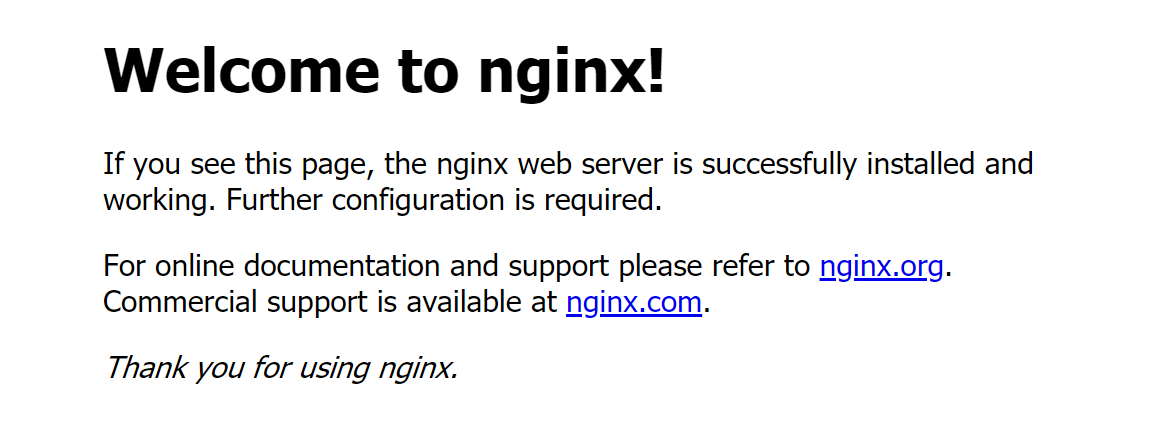
You will see the nginx default landing page:
You will need the port 80 opened
You should add a config file for your app (flask_test for example) inside the nginx sites-available folder. You should delete the default config file.
sudo rm /etc/nginx/sites-available/default
sudo nano /etc/nginx/sites-available/flask_test
And write the following configuration:
server {
    listen 80 flask_server;

    location / {
        proxy_pass http://127.0.0.1:8000;
    }
}
8000should match the port defined at supervisor and80will the port that you opened to test nginx.
Now you need a symlink in sites-enabled that points to the file you created before:
sudo rm /etc/nginx/sites-enabled/default
sudo ln -s /etc/nginx/sites-available/flask_test /etc/nginx/sites-enabled
And now you can start nginx:
sudo nginx -t
sudo service nginx restart
You can now go to XX.XXX.XXX.XXX and you should see the flask app Hello World message.
If everything is working remeber to close the ports that you opened only for testing.
The nginx configuration you used is really simple. For example you can set nginx to serve static files directly instead of passing through the flask app by:
server {
    listen 80 flask_server;

    location /static/ {
        root /var/www/html/;
    }

    location / {
        proxy_pass http://127.0.0.1:8000;
    }
}
For more info about how to configure nginx here.
I strongly suggest you set up a SSL certificate for apps that are in production. You can learn how with this tutorial.
While working on this post I set this app for my first time. It is normal to encounter difficultes but I was able to sort it out, you can do it too!